Hello everybody :) How are you doing today?? Ready for the fourth tutorial from 'Valentine's Day Special' Series by 'Something Different'?? Today's card is called 'Dancing in the moonlight'! and well, as the name suggests, it is little bit extra romantic, isn't it? ;)


Here's the tutorial :
Step 1: Card has two rectangular parts. First part is of size 30 cm x 15 cm. Fold it in half to have a square greeting card of size 15 cm x 15 cm.


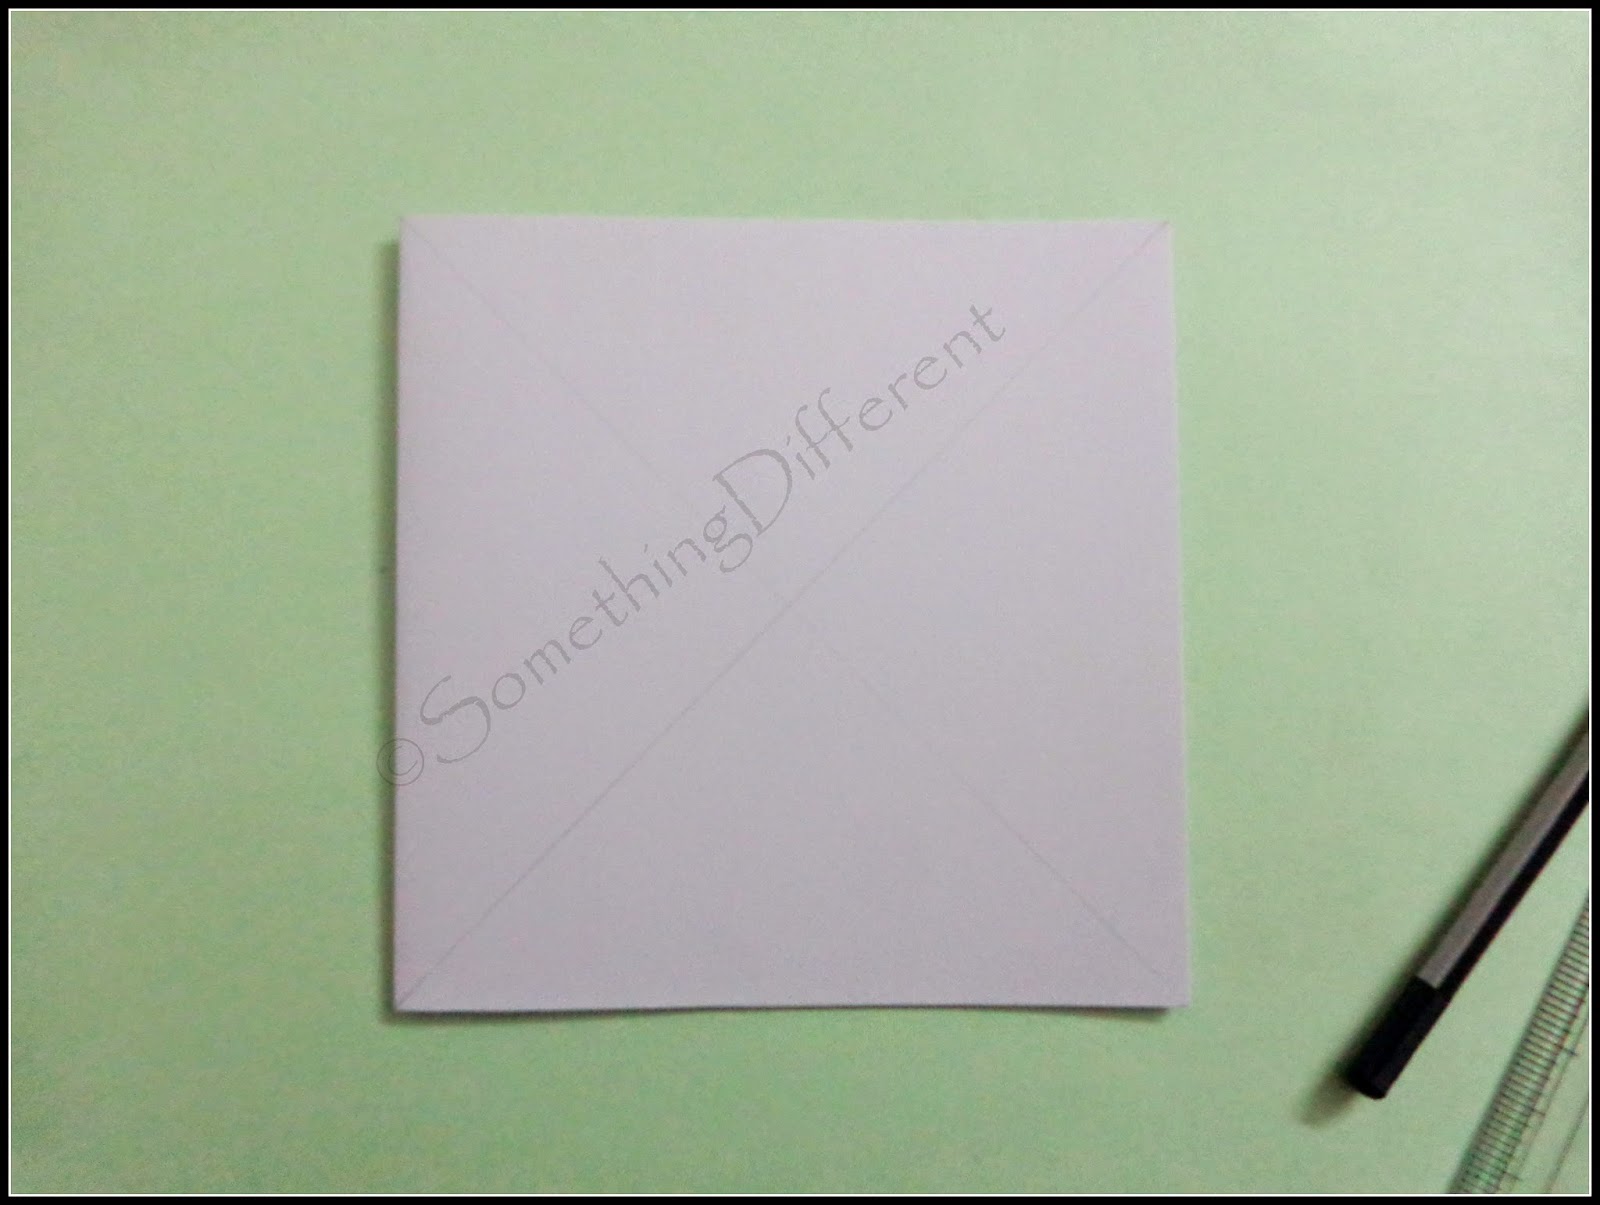
Step 3: With the help of compass, draw a circle having diameter 10 cm. If you don't have a compass, you can use any circular object having approximate diameter of 10 cm. Then cut out this circular region. So first basic part of our card is ready! :)


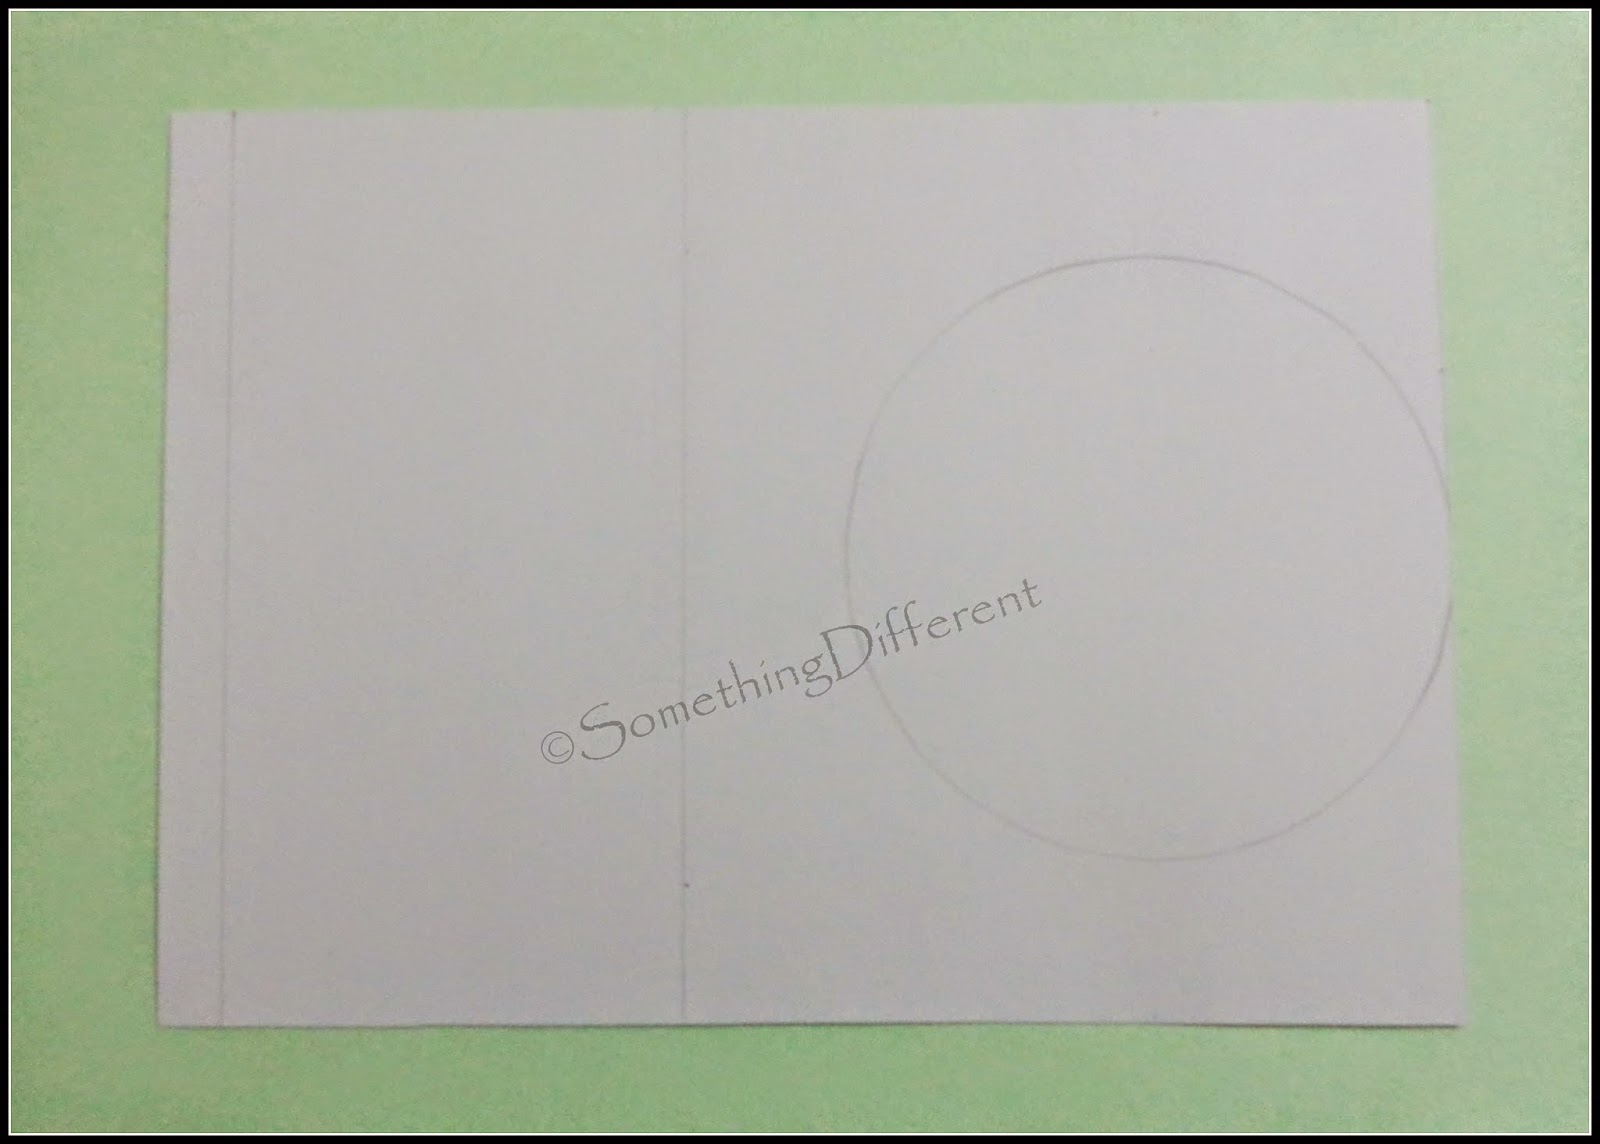
Step 4 : The second part is again rectangular in shape and is of size 21 cm x 15 cm, Mark lines at 1 cm and 8.5 cm from one of the shorter edges of the rectangle (as shown).

Step 5: Keep first part of the card over second part such that fold of the first part matches with the line drawn at 8.5 cm on the second part. With reference to the first part, draw a circle again on the second part.

Result will be as shown below:
Step 6: Draw a line at 7.5 cm from the other shorter edge of the second part to find the diameter of the circle.

Step 7: Draw lines at 1 cm on the right hand side of this diameter as shown.

And then cut along the darker line as indicated in the image below.

Step 8 : Flip the second part and make folds as shown:

Step 9: Flip the second part again and draw any picture on the circular region. e.g I have drawn a couple slow-dancing together :) <3

Then paint it. (While painting, I decided to give a longer gown instead of frock ;) :D... Looks more romantic, isn't it? ;))

Step 10: I have a beautiful starry paper in my collection which superbly matches with my today's theme of the card. So I decided to cover both the parts entirely i.e. front and back (except for the circular region) with this paper. Check out the results:


If you do not have such paper, then not to worry. You can use dark blue or black paper instead and then using some glitters, you can make the stars.
Step 11: Apply an adhesive to the small flaps of the second part.

And then paste first part over second part such that both circles match perfectly.


Now the top view of the card will look like this :

Step 12: Mark a line at 7.5 cm on the first part as shown.

Apply glue to the other flap of the second part and paste it on the first part along this marked line.

So now top view will be something like this.

Step 13: We are almost done now. I have added some lovely lines on the remaining part of the card. And ta-da!! 'Dancing in the moonlight' card is all ready!! <3

You can also find us on
Twitter: www.twitter.com/Smth_diff_craft
Pinterest: http://www.pinterest.com/smth_diff_craft/
Instagram: instagram.com/smth_diff_craft
Take care! Buh-bye!! :)
No comments:
Post a Comment